Why Trail Navigation Still Matters in 2026
Let’s start with the obvious: GPS is a great tool until it isn’t. Batteries die, signals drop, apps crash. In thick forest, deep canyons, or during heavy weather, your phone’s fancy nav system is basically a paperweight. If that’s your only plan, you’re gambling.
Paper maps and trail signs still do the job. They don’t glitch, run out of juice, or rely on satellites. More importantly, using them well means you understand where you are and where you’re going, not just blindly following a blinking dot. It’s awareness, not just automation.
Confident navigation makes you less likely to get lost, more likely to recognize danger early, and better able to adapt when plans change. It’s not about ditching tech. It’s about knowing what to do when tech ditches you.
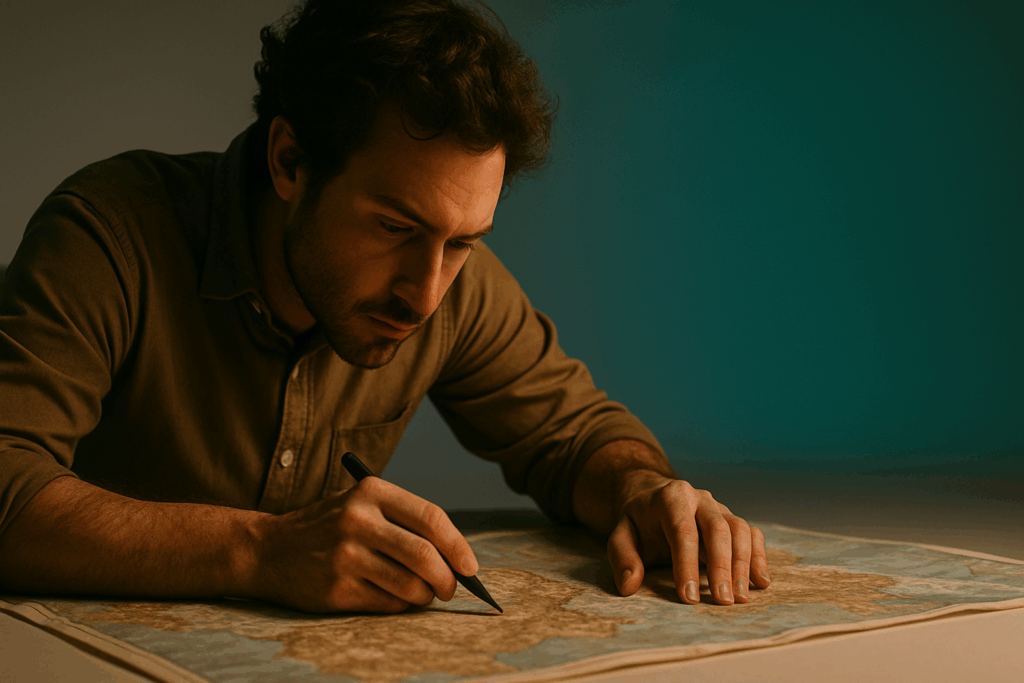
Reading Topographic Maps Like a Pro
The first thing to get right: contour lines. These squiggly rings show elevation. When they’re tight together, the terrain’s steep think cliffs or sharp inclines. When they’re spread out, it’s flatter ground. If the lines form circles, you’re likely looking at a hilltop, and if they have little hash marks pointing inward, that’s a depression.
Next up: map symbols and colors. Green usually means vegetation, like forests. Blue? Water lakes, rivers, streams. Brown is your contour lines and elevation info, while black can mark trails, roads, or man made features. Campsites, water sources, and trailheads each have standardized icons. Learn them once, and they’ll serve you everywhere from the Rockies to remote state parks.
Orientation matters. Always line up the map with compass north. It’s basic, but it keeps the rest honest. If north on the map faces a different direction than actual magnetic north, you’ll drift. Literally. Use your compass not your gut.
Then there’s the scale. This tells you how map inches convert to real world miles. It’s usually written as something like 1:24,000, which means one inch on the map equals 24,000 inches (or about 2,000 feet) on the ground. Use the scale bar to measure trail lengths and estimate travel time without guessing.
To bring it all home: imagine you’re at the start of a hike in Zion. Trail map in hand, you note tight contour lines heading into the canyon the climb’s coming fast. You scan for the tent icon ahead: that’s a backcountry site, right at the edge of a plateau. You’ve oriented the map to your compass, measured five trail miles with your finger, and now you know exactly what your legs are in for. That’s the power of reading topographic maps well.
For a full primer on navigating without electronics, check out A Beginner’s Guide to Navigating Without GPS.
Trail Signs: What They Tell You
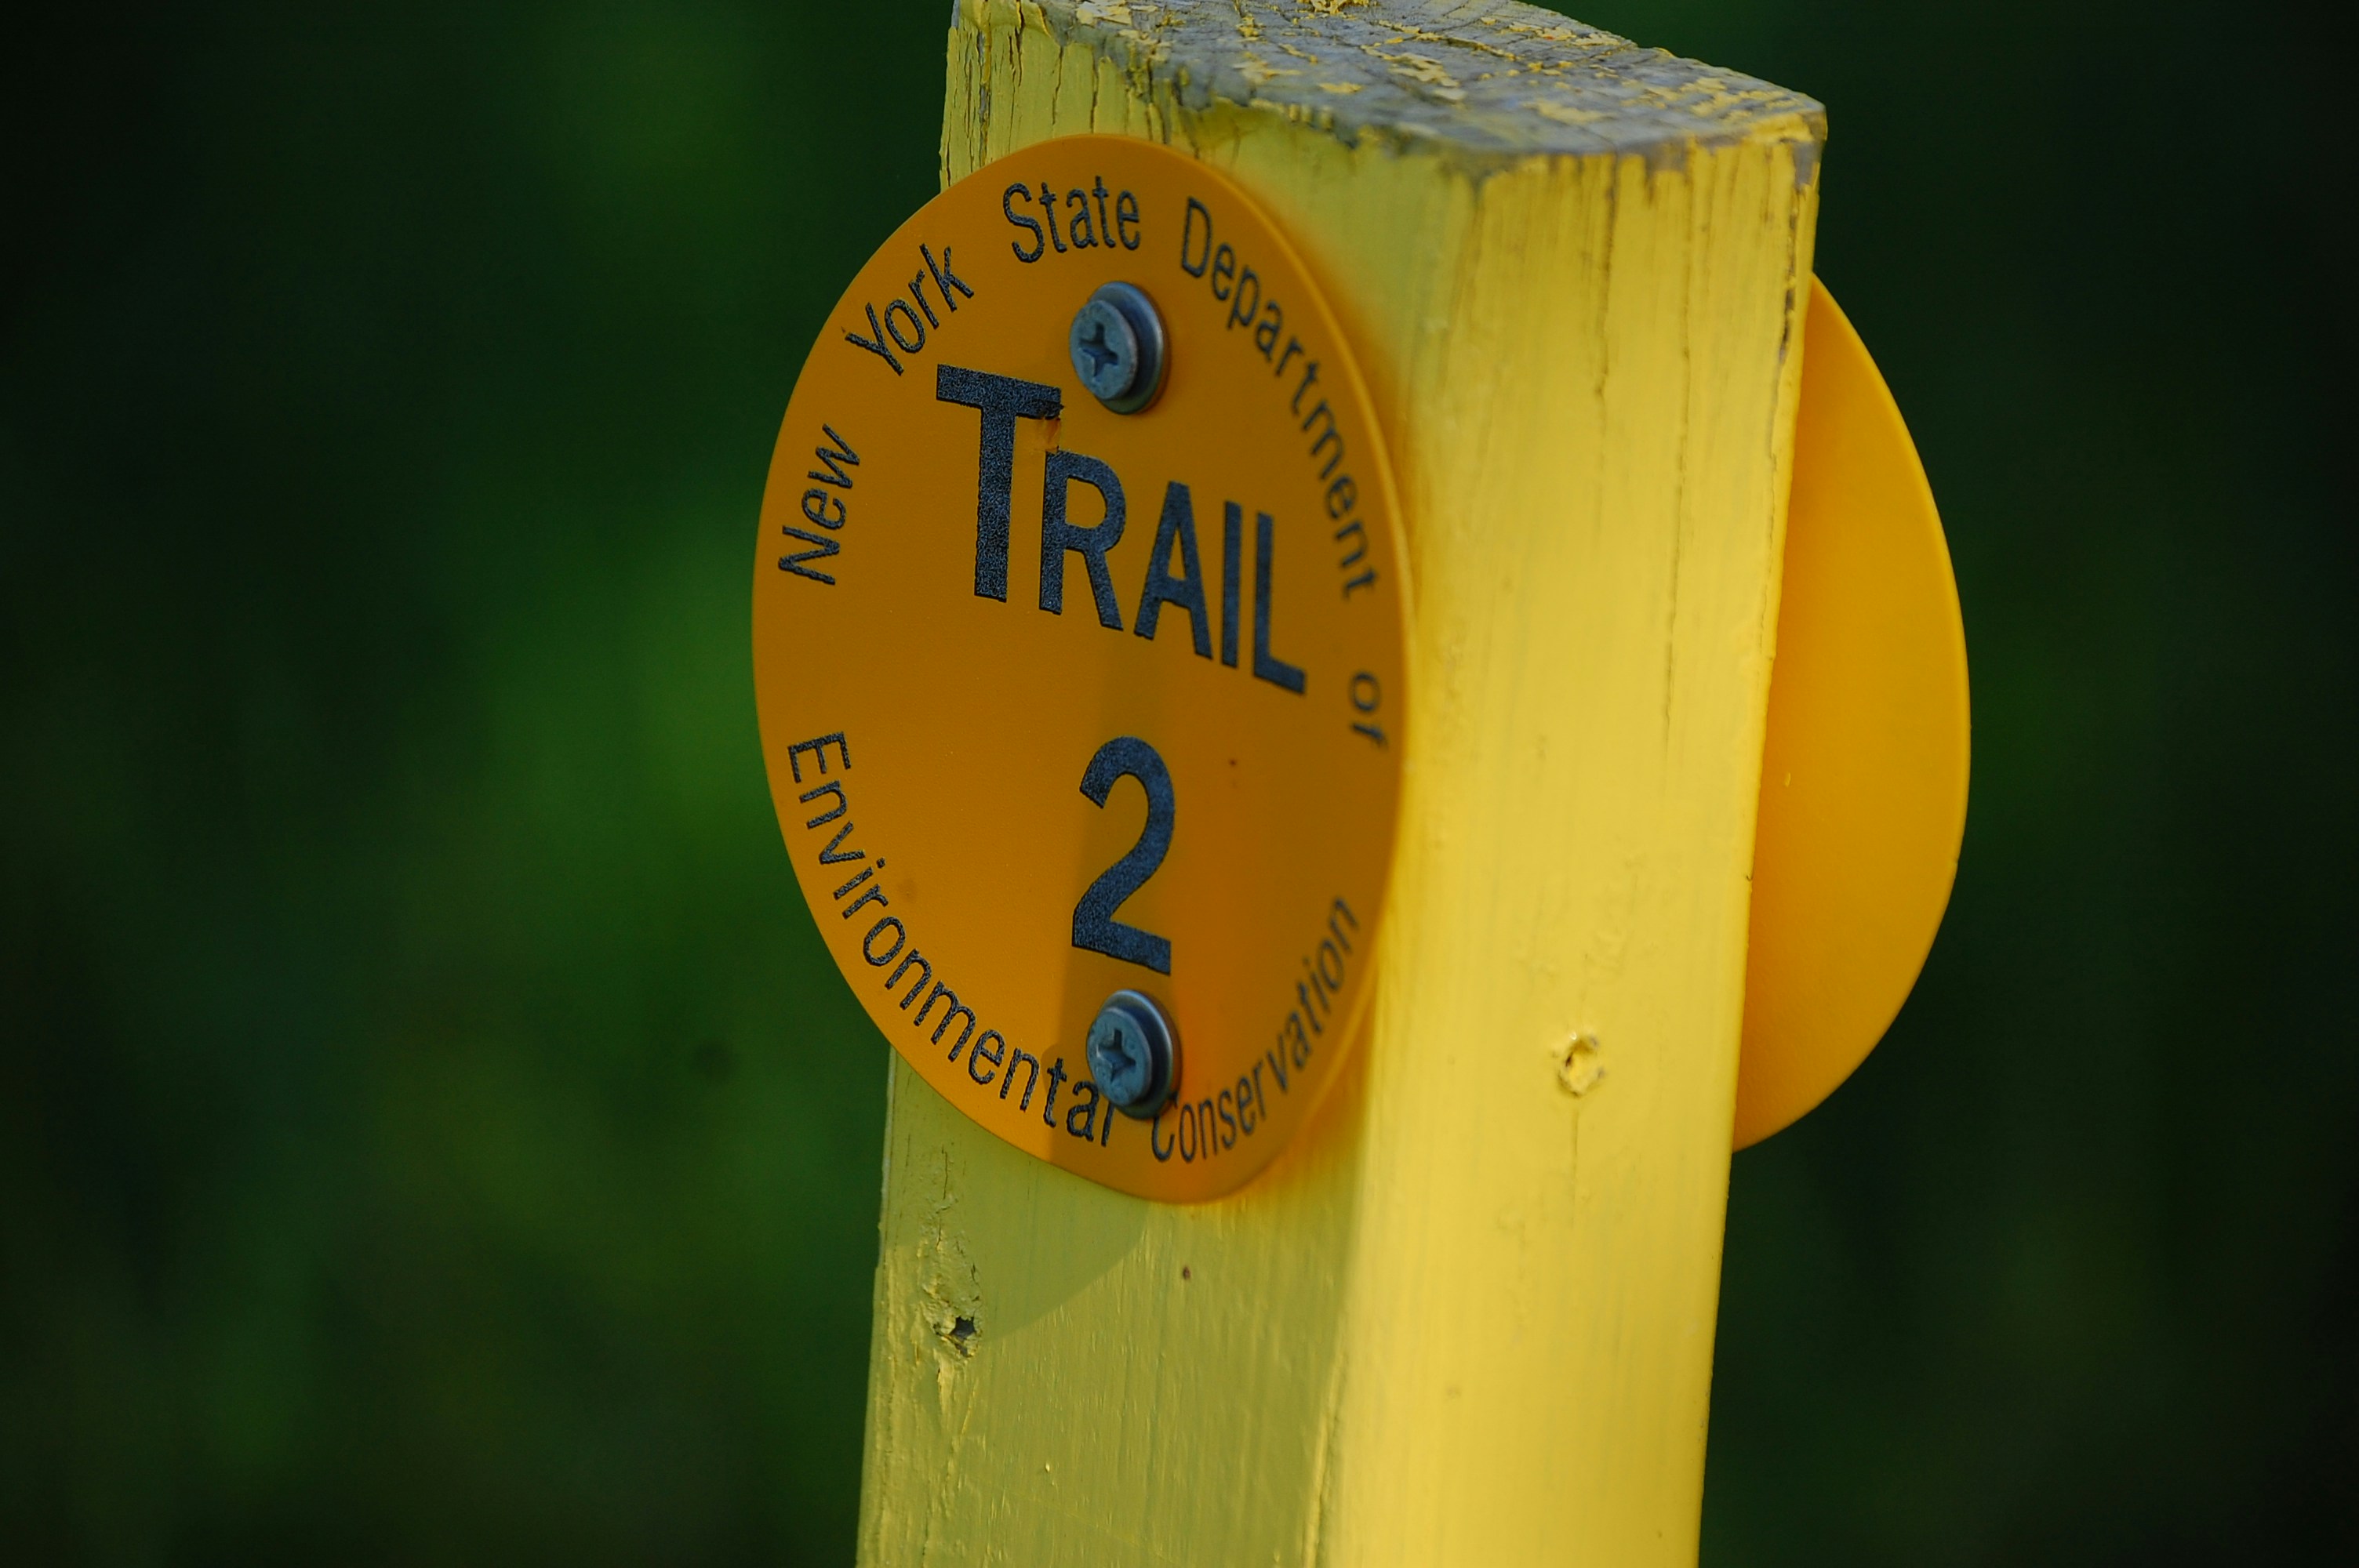
Trail signs are more than just helpful markers they’re essential tools for staying oriented, avoiding hazards, and making good decisions on the trail. In a world where GPS signals can drop and batteries fail, knowing how to read a simple blaze or sign could make all the difference.
Understanding Blazes and Trail Colors
Blazes are paint marks or symbols on trees, rocks, or posts that indicate a trail’s direction. Their color and pattern tell you a lot:
White blazes: Most common on long distance trails like the Appalachian Trail
Blue blazes: Typically indicate side trails or connectors to shelters and water sources
Double blazes: Often signal a change in direction or caution, such as a sharp turn or junction
Single blaze: Continue straight ahead
Pay attention to spacing and placement if you don’t see a blaze within a minute or two, you might be off course.
Mileage Markers: Distance Isn’t Always What It Seems
Mileage signs are often posted at junctions or along major trails, but reading them correctly is key:
Watch the units: Some maps or signs use kilometers, others use miles (and they’re not interchangeable)
Consider terrain: A two mile flat hike is very different from two miles over steep, rocky elevation
Use as reference points: Tie them to your map’s scale to gauge progress
Trail Symbols You Should Recognize
Certain icons are used consistently across trail systems. Here are the most common:
Water: Often shown as a droplet or faucet icon
Shelters or campsites: Denoted by tent or hut symbols
Hazards: Warning signs may include falling rocks, wildlife, or unstable terrain
Turns or junctions: Arrows or intersecting trail icons indicate where trails split or merge
Memorizing these can help you interpret signs quickly especially in fading daylight or poor weather.
Stay Alert: Trail Signs Aren’t Always Reliable
While signs add crucial context, they’re not failproof:
Weathered or vandalized signs might be hard to read or even misleading
Overgrown or rerouted trails sometimes don’t match the original markings exactly
Natural terrain cues like ridgelines, streams, or valleys can often confirm your position even when signage fails
Pro tip: Use signs, maps, and natural features together. Trust multiple sources of feedback to stay oriented, especially in unfamiliar areas.
Trail Tips for Putting It All Together
Reading maps is one thing. Moving with them is another. To stay aligned on the trail, combine your topographic map with the real world clues around you. Trail signs, painted blazes, carved posts they’re not just decoration. They confirm you’re still on track when the terrain gets confusing.
Landmarks are your best friend. Don’t just go off mileage identify forks in the trail, creek crossings, ridgelines. Make them mental waypoints so that if the signs disappear or your map gets soaked, you’ve still got a sense of where you are.
And here’s the trap: head down, phone out, zoned in. Look up often. Check your surroundings. A few seconds of awareness every few minutes can save you from hiking miles in the wrong direction before realizing it.
Last, this isn’t a one and done skill. Navigation sharpens with use. The more you pair a map with the trail, the more intuitive it gets. Practice turns into instinct. That’s how good hikers stay found.
Quick Gear Checklist
Having the right gear for navigation can make all the difference between staying confidently on route and ending up miles off course. Here’s your essential checklist for trail navigation and why each item matters.
Compass (And Know How to Use One)
Don’t just carry a compass make sure you’re comfortable aligning it with your map and plotting a bearing.
Choose a compass with a baseplate and rotating bezel
Learn how to find north, set declination, and follow a bearing
Use in tandem with your topographic map to track direction when visibility is low
Updated Topo Map for Your Region
Maps change. Trails reroute. Rivers shift. Always carry a current topographic map that’s specific to where you’re hiking.
Look for updated editions with accurate terrain markings
Ensure that trail junctions, elevation contours, and campsites match the real world
Highlighter and Pencil for Route Marking
Planning ahead pays off. A few simple markings can keep you on track while on the trail.
Use a pencil to sketch alternate routes or note hazards
Highlight your intended path to spot it quickly during hikes
Mark estimated check in points for you or others to follow your progress
Laminated Map Case or Waterproof Folder
Weather happens. So do water crossings and sweat.
Protect your paper map from rain, abrasion, and accidents
Transparent cases let you read the map without removing it
Fold it for pocket access or clip it to your pack for quick checks
Pro Tip: Don’t wait until you’re off grid to learn your gear. Practice using every item in low stress environments so it’s second nature when the trail gets tough.
Why This Skill Pays Off
Knowing how to read topographic maps and trail signs isn’t just a cool skill it’s a practical one. When you hike alone, there’s no margin for guessing. A wrong turn two hours in could mean a night in the cold. Strong navigation chops make solo trips safer, plain and simple. You stay oriented, make smarter decisions, and move with purpose not panic.
This skill also unlocks trails the GPS crowd can’t touch. Want to go deep into the backcountry with zero bars of service? You’ll need to rely on your head, not your phone. A good map and compass and the insight to use them open up the kind of off grid routes most people steer clear of.
And here’s the real payoff: confidence. When you know you can read the terrain, follow signs, and correct your course if needed, you hike differently. You’re more aware, more proactive, and more independent. Whether you’re walking a familiar loop or venturing into alpine wilderness, that confidence keeps you grounded and prepared in any condition.
 Ask Josephine Raybandett how they got into horizon headlines and you'll probably get a longer answer than you expected. The short version: Josephine started doing it, got genuinely hooked, and at some point realized they had accumulated enough hard-won knowledge that it would be a waste not to share it. So they started writing.
What makes Josephine worth reading is that they skips the obvious stuff. Nobody needs another surface-level take on Horizon Headlines, Adventure Gear Essentials, Outdoor Exploration Basics. What readers actually want is the nuance — the part that only becomes clear after you've made a few mistakes and figured out why. That's the territory Josephine operates in. The writing is direct, occasionally blunt, and always built around what's actually true rather than what sounds good in an article. They has little patience for filler, which means they's pieces tend to be denser with real information than the average post on the same subject.
Josephine doesn't write to impress anyone. They writes because they has things to say that they genuinely thinks people should hear. That motivation — basic as it sounds — produces something noticeably different from content written for clicks or word count. Readers pick up on it. The comments on Josephine's work tend to reflect that.
Ask Josephine Raybandett how they got into horizon headlines and you'll probably get a longer answer than you expected. The short version: Josephine started doing it, got genuinely hooked, and at some point realized they had accumulated enough hard-won knowledge that it would be a waste not to share it. So they started writing.
What makes Josephine worth reading is that they skips the obvious stuff. Nobody needs another surface-level take on Horizon Headlines, Adventure Gear Essentials, Outdoor Exploration Basics. What readers actually want is the nuance — the part that only becomes clear after you've made a few mistakes and figured out why. That's the territory Josephine operates in. The writing is direct, occasionally blunt, and always built around what's actually true rather than what sounds good in an article. They has little patience for filler, which means they's pieces tend to be denser with real information than the average post on the same subject.
Josephine doesn't write to impress anyone. They writes because they has things to say that they genuinely thinks people should hear. That motivation — basic as it sounds — produces something noticeably different from content written for clicks or word count. Readers pick up on it. The comments on Josephine's work tend to reflect that.