Taking a hidden face aesthetic boy mirror selfie is all about that mysterious, stylish vibe. You want to capture something cool and anonymous, but getting the lighting, angle, and mood right can be tricky. This guide will walk you through everything from setting up the shot to the final edit.
By the end, you’ll have specific techniques and ideas to create your own unique shots. This trend is popular because it lets you express yourself artistically while keeping a bit of privacy in a digital world where everyone’s always on display.
Decoding the Hidden Face Aesthetic: More Than Just a Selfie
What makes a mirror selfie aesthetic versus just a regular picture? It’s all about mood, composition, and storytelling.
The core components of this trend include anonymity, a focus on the outfit (OOTD), the surrounding environment, and the overall mood.
Why hide the face? It can actually make a photo more intriguing and relatable. Viewers can project themselves into the image, creating a deeper connection.
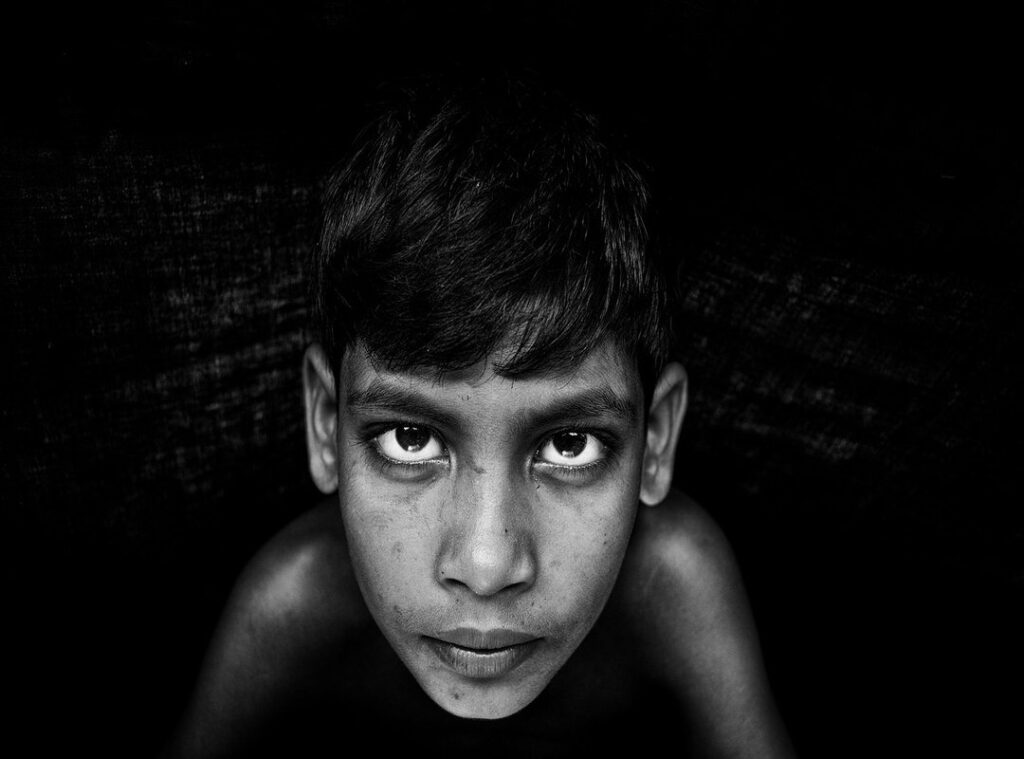
Take a moody, grainy photo with the phone obscuring the face. This creates a sense of mystery and introspection.
On the other hand, a bright, clean shot using a downward angle feels more open and inviting. Both styles have their own charm.
The hidden face aesthetic boy mirror selfie is a great example. It’s not just about the clothes; it’s about the vibe and the story you’re telling.
Next time you snap a mirror selfie, think about the mood and the message. It might just make your photo stand out.
Setting the Scene: Your Mirror, Lighting, and Background
When it comes to a mirror selfie, the mirror itself is your canvas. The frame and shape—whether arched or rectangular—can really set the tone. A clean, smudge-free surface is a must.
Trust me, no one wants to see fingerprints in their reflection.
Now, let’s talk lighting. Soft, natural light from a window can give you that gentle, almost ethereal mood. It’s perfect for a more relaxed, serene vibe.
On the other hand, harsh, direct flash can create a bold, edgy look. It’s all about what you want to convey.
The background is just as important. A minimalist, clean background puts the focus squarely on you. But if you want to tell a story, an intentionally ‘lived-in’ or curated background can add depth and character.
Think of it like setting the stage for a hidden face aesthetic boy mirror selfie.
Camera settings matter, even on a phone. Tap to focus on the reflection, not the mirror surface. Adjust the exposure slider before taking the shot.
This little tweak can make a big difference in how your photo turns out.
One last tip: use your phone’s timer function. It lets you pose more naturally and avoid the awkward fumble with the shutter button.
In the future, I predict we’ll see more creative uses of mirrors and backgrounds. People will start experimenting with unique shapes and textures, maybe even incorporating art pieces or nature elements. It’s all about pushing the boundaries and making your selfies stand out. hidden face aesthetic
5 Proven Techniques for the Perfect Hidden Face Pose
Technique 1: The Phone Block
I remember the first time I tried this. It was a spontaneous moment, and I just held my phone up to my face. To get it right, position your phone so it completely covers your face.
Angling it slightly can change the composition, making it look more natural.
Technique 2: The Downward Gaze
This one’s all about the angle. Use a high camera angle and tilt your chin down. Your hair or shadows will naturally obscure your features.
It’s a subtle way to stay hidden while still looking cool.
Technique 3: The Flash Obscure
In a dim room, use a direct, on-camera flash. It creates a bright glare that whites out your face. This gives you a high-contrast, edgy look.
Trust me, it’s a game-changer.
Technique 4: The Strategic Shadow
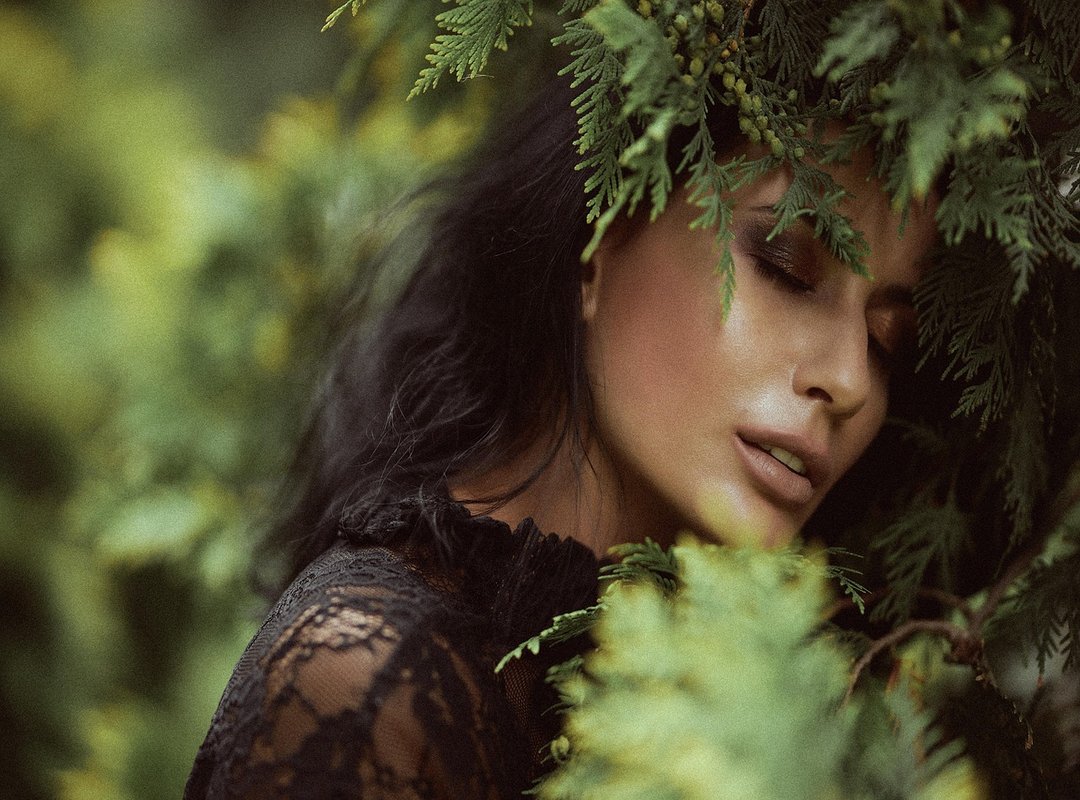
Position yourself relative to a light source, like a lamp or window. Cast a deep, intentional shadow across your face. It’s all about playing with light and shadow to create a mysterious vibe.
Technique 5: The Hand/Prop Assist
Use a hand, a cap, or even a book to cover part or all of your face. It’s a casual and artful way to stay hidden. I once used a book in a hidden face aesthetic boy mirror selfie, and it turned out great.
These techniques are simple but effective. Give them a try and see which one works best for you.
The Final Touch: Editing for a Moody and Atmospheric Vibe
Editing is where the magic happens. The raw photo is just the starting point. It’s frustrating when you take a great shot, but it doesn’t quite capture the mood you want.
Increasing shadows and lowering highlights can create that perfect contrast. Desaturating colors gives a more muted, serious tone. This can transform a simple selfie into something with real depth.
Adding grain is a game-changer. A subtle grain effect can give your photo a vintage, film-like quality. It enhances the mood and makes it feel more authentic.
Popular editing apps like VSCO, Lightroom Mobile, or even the built-in Instagram editor are great. They have specific filter styles that work well for this look. Think moody, monochrome, or faded.
Let me paint a picture. Imagine a hidden face aesthetic boy mirror selfie. Before, it might look flat and uninteresting.
After these edits, it becomes an aesthetic statement. The shadows add mystery, the desaturated colors make it more serious, and the grain gives it that vintage touch.
It’s all about making your photos stand out. And with the right edits, you can do just that.
It’s Your Turn to Create an Anonymous Masterpiece
A good hidden face selfie is a combination of a thoughtful setup, a creative pose, and deliberate editing. The goal is to express a mood and personal style, not just to hide. Experiment with the different techniques discussed in the article.
Find the style that best suits you. hidden face aesthetic boy mirror selfie can be a unique way to showcase your creativity. Grab your phone, find a mirror, and start experimenting with your new skills right now.
 There is a specific skill involved in explaining something clearly — one that is completely separate from actually knowing the subject. Robertong Stanleyer has both. They has spent years working with trail prep and packing tips in a hands-on capacity, and an equal amount of time figuring out how to translate that experience into writing that people with different backgrounds can actually absorb and use.
Robertong tends to approach complex subjects — Trail Prep and Packing Tips, Hidden Gems, Outdoor Exploration Basics being good examples — by starting with what the reader already knows, then building outward from there rather than dropping them in the deep end. It sounds like a small thing. In practice it makes a significant difference in whether someone finishes the article or abandons it halfway through. They is also good at knowing when to stop — a surprisingly underrated skill. Some writers bury useful information under so many caveats and qualifications that the point disappears. Robertong knows where the point is and gets there without too many detours.
The practical effect of all this is that people who read Robertong's work tend to come away actually capable of doing something with it. Not just vaguely informed — actually capable. For a writer working in trail prep and packing tips, that is probably the best possible outcome, and it's the standard Robertong holds they's own work to.
There is a specific skill involved in explaining something clearly — one that is completely separate from actually knowing the subject. Robertong Stanleyer has both. They has spent years working with trail prep and packing tips in a hands-on capacity, and an equal amount of time figuring out how to translate that experience into writing that people with different backgrounds can actually absorb and use.
Robertong tends to approach complex subjects — Trail Prep and Packing Tips, Hidden Gems, Outdoor Exploration Basics being good examples — by starting with what the reader already knows, then building outward from there rather than dropping them in the deep end. It sounds like a small thing. In practice it makes a significant difference in whether someone finishes the article or abandons it halfway through. They is also good at knowing when to stop — a surprisingly underrated skill. Some writers bury useful information under so many caveats and qualifications that the point disappears. Robertong knows where the point is and gets there without too many detours.
The practical effect of all this is that people who read Robertong's work tend to come away actually capable of doing something with it. Not just vaguely informed — actually capable. For a writer working in trail prep and packing tips, that is probably the best possible outcome, and it's the standard Robertong holds they's own work to.